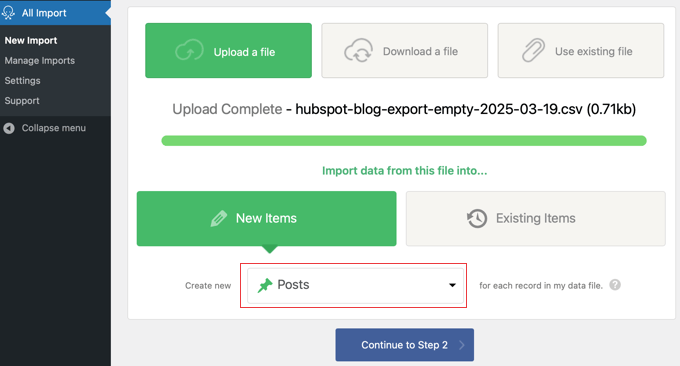
WordPress vs Laravel – Which Is Better? (Expert Comparison)
If you’re trying to choose between WordPress and Laravel for your next website, you’re not the only one.
Both platforms are popular, but they serve very different purposes. WordPress is beginner-friendly and great for getting a site online quickly. On the other hand, Laravel offers more customization and control, but only if you’re comfortable writing code.
Having worked with both platforms, I’ve found that the right choice really depends on your project and how comfortable you are with code.
In this guide, I’ll walk you through the key differences between WordPress and Laravel to help you figure out which one fits your needs best.
WordPress vs. Laravel: A Brief Overview
Choosing between WordPress and Laravel is one of the first decisions you’ll need to make when building a website. You can use both platforms to create websites, but they are designed for different tasks.
I’ve put together this simple table that compares the key features of WordPress and Laravel side by side.
| Feature | WordPress | Laravel |
|---|---|---|
| 🎯 Main Use | Blogs, websites for everyone | Custom web apps, complex websites |
| ⚙️ Technology | Content management system | Web application framework |
| 🤹 Ease of Use | Very easy, good for beginners | Harder to learn, for developers |
| 🔧 Customization | Themes, plugins | Code it yourself |
| 🔒 Security | Needs optimization | Strong foundation that requires secure coding |
| 📈 Scalability | Needs optimization | Out of the box |
| 👥 Community | Huge, lots of help for all users | Small, developer-focused |
| 👤 Best For | Building websites quickly | Coding custom sites |
Next, I’ll walk you through each of these points in more detail to help you decide which platform is the right choice for your project.
Note: This comparison is between Laravel and self-hosted WordPress.org (not WordPress.com). See our guide on the differences between self-hosted WordPress.org and WordPress.com for more information.
How I Compared WordPress vs. Laravel
To give you a real-world comparison of WordPress and Laravel, I drew on my experience using both platforms for actual website projects.
I focused on the key areas that matter most when building a website with either platform:
- 🛠️ Real Projects: I’ve used WordPress for everything from blogs to online stores, and I’ve explored Laravel for building fully custom websites.
- 📋 Everyday Tasks: I compared how both platforms handle things like setting up pages, managing content, and adding features.
- ⚙️ Customization & Features: I looked at what each platform is designed for, how easy it is to customize, and how they handle security and performance.
- 🎯 Best Use Cases: I considered different types of websites and which platform fits best for each.
- ⏱️ Time and Effort: I factored in the learning curve, development time, and ongoing maintenance needs, including things like keeping your site updated and running smoothly.
- 📈 Growth Potential: I looked at how well each platform supports websites as they grow and become more complex.
I’ll use this approach to walk you through the key differences and help you choose the right platform for your site.
Why Trust WPBeginner?
I know that picking the right platform for your website is an important decision. You need information you can rely on to help you choose well.
That’s why I put together this comparison of WordPress and Laravel to provide clear, useful advice.
While WordPress is the main platform for our projects, we always test and look into other web technologies, like Laravel. This helps us understand different tools so we can give you the best advice for your website needs.
For more information, take a look at our detailed editorial guidelines.
This is a detailed comparison of WordPress vs. Laravel. You can use the links below to quickly navigate through the article:
- WordPress vs. Laravel: Why Choosing the Right Platform Matters
- Ease of Use: Beginner-Friendly vs. Developer-Focused
- Making It Your Own: Customization in WordPress vs. Laravel
- Content Management: WordPress vs. Laravel
- eCommerce: WordPress vs. Laravel
- SEO: WordPress vs. Laravel – Getting Found Online
- Speed Matters: Performance in WordPress vs. Laravel
- Growing Your Site: WordPress vs. Laravel Scalability
- Safeguarding Your Site: WordPress vs. Laravel Security
- Community and Resources: WordPress vs. Laravel
- Cost Comparison: WordPress vs. Laravel
- The Verdict: Choosing Between WordPress vs Laravel
- Frequently Asked Questions About WordPress vs. Laravel
WordPress vs. Laravel: Why Choosing the Right Platform Matters
Choosing the right platform to build your website is a big decision. Selecting the wrong one can lead to unexpected costs, technical limitations, and frustration as your site grows, which is why it’s crucial to choose correctly from the start.
Ultimately, the best choice comes down to your budget, technical comfort level, and what you want your website to do in the long run.
Now, let’s take a look at both WordPress and Laravel.
What Is WordPress?
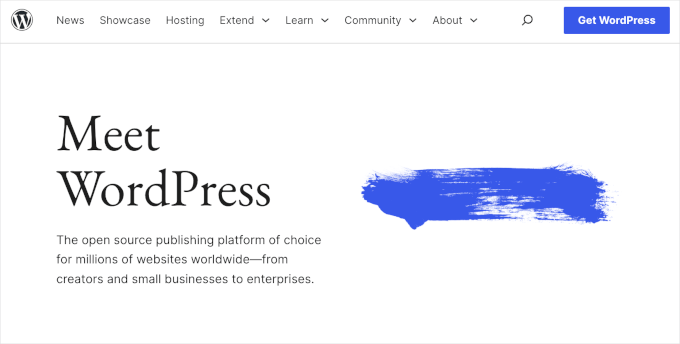
WordPress is the most popular content management system (CMS) in the world. Because it is open-source, it’s free to use and easy to customize with themes and plugins.
It’s designed to be user-friendly, allowing people of all skill levels to build and manage a website without needing to know how to code. It’s supported by a large global community that creates themes and plugins, and helps other users solve problems.
What Is Laravel?
Laravel is not a website builder like WordPress. Instead, it’s a PHP framework that gives developers a toolbox for building custom web applications from the ground up.
Like WordPress, Laravel is open-source and free, but it’s built for professional developers. You’ll need strong coding skills to use it, which gives you the power to create complex, highly customized websites and applications.
Ease of Use: Beginner-Friendly vs. Developer-Focused
When it comes to ease of use, WordPress and Laravel are built for completely different people.
WordPress is famous for its beginner-friendly approach that lets anyone build a site without code. In contrast, Laravel is a powerful tool designed for developers who are comfortable with a more technical setup.
WordPress Ease of Use: Setting Up a Basic Site
While there is a small learning curve, WordPress is designed to be easy to pick up, even for absolute beginners. You can follow our guide on how to learn WordPress for free in a week.
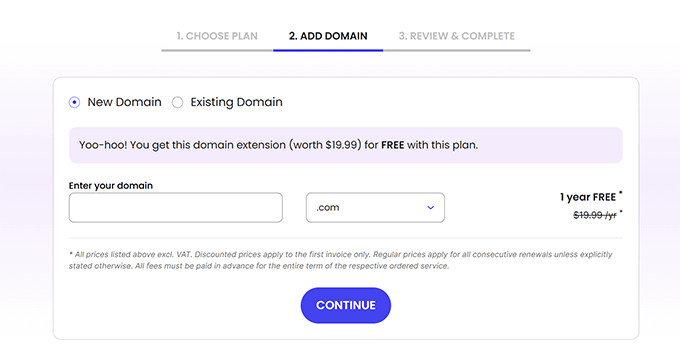
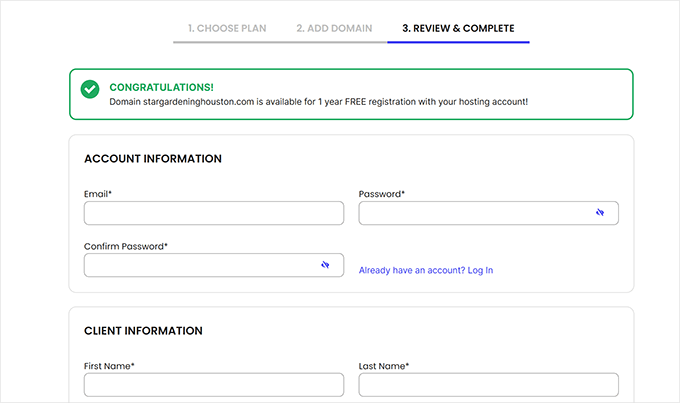
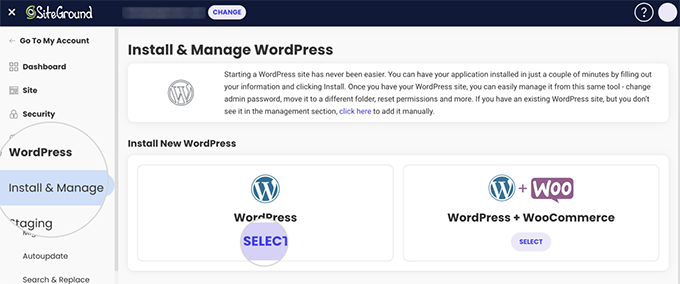
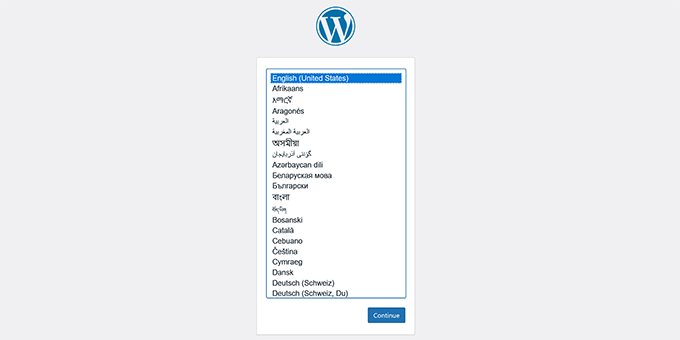
Getting started is quick and simple. Most web hosts offer one-click WordPress installation, so getting started is quick and simple. Hosts like Bluehost and Hostinger include this by default.
Our complete guide on how to make a WordPress website will walk you through the entire process step by step.
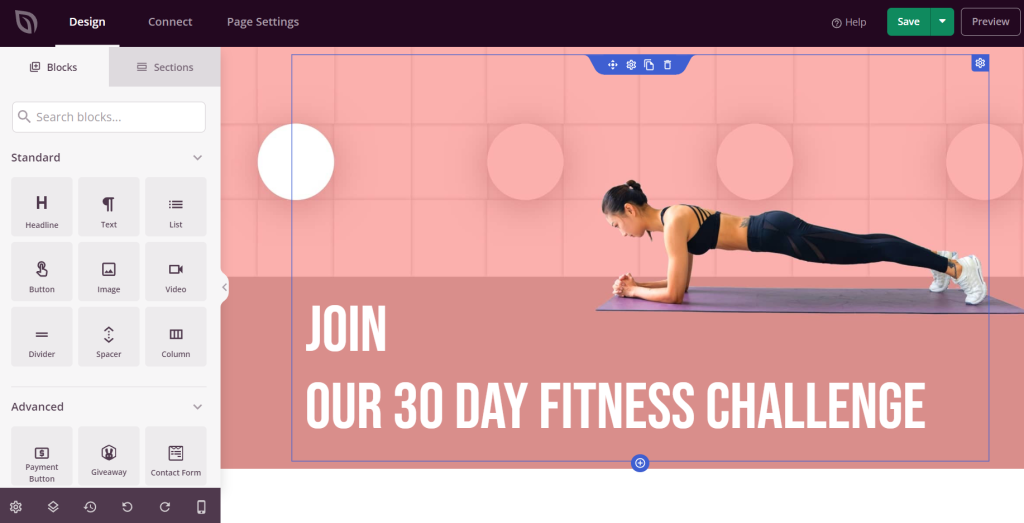
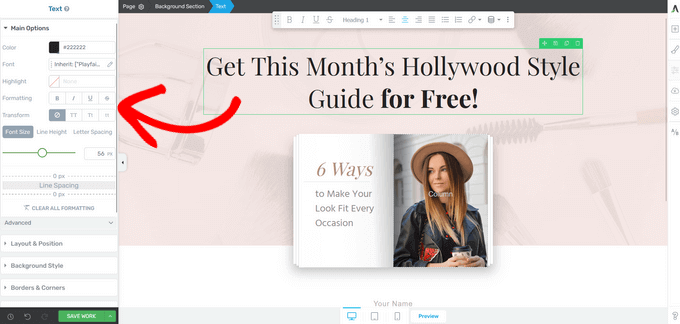
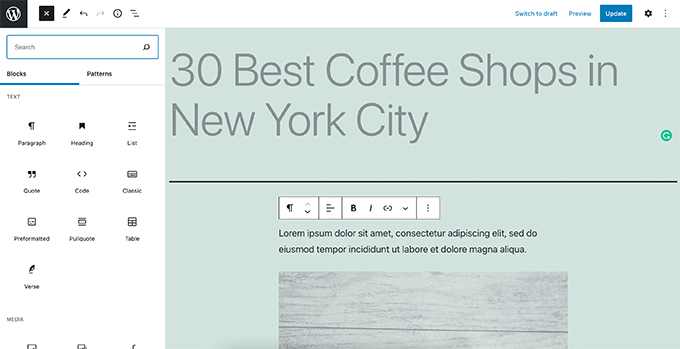
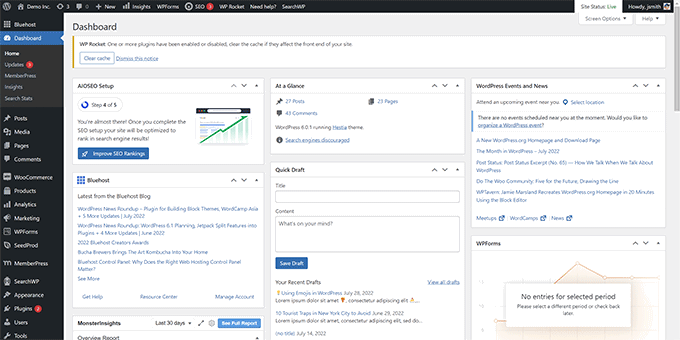
After WordPress is installed, you can log in to your dashboard. From here, you can create content using the built-in block editor, which lets you arrange your page using visual building blocks for text, images, and more.
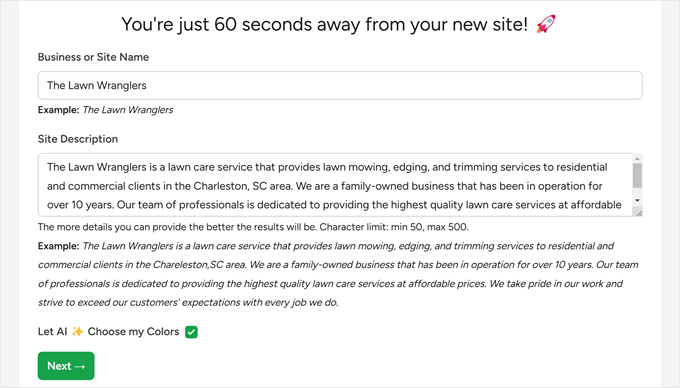
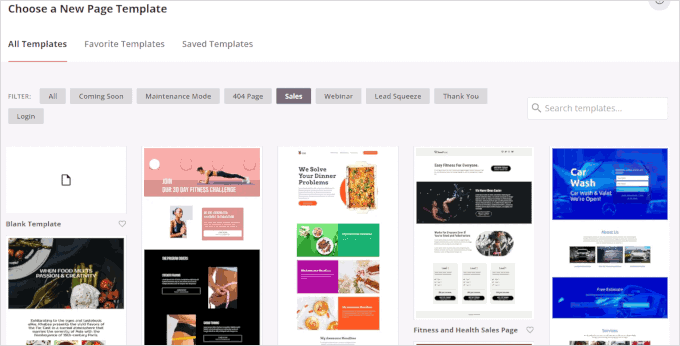
To make building your site even easier, you can use a drag-and-drop page builder plugin. I recommend SeedProd because it lets you create completely custom layouts without any code. It even comes with an AI website builder that can generate a unique site for you in minutes.
💡 Don’t have time to build a website? Our expert team can build a custom WordPress site for you at an affordable price. See our Website Design Services for more details!
Laravel Ease of Use: Setting Up a Basic Application
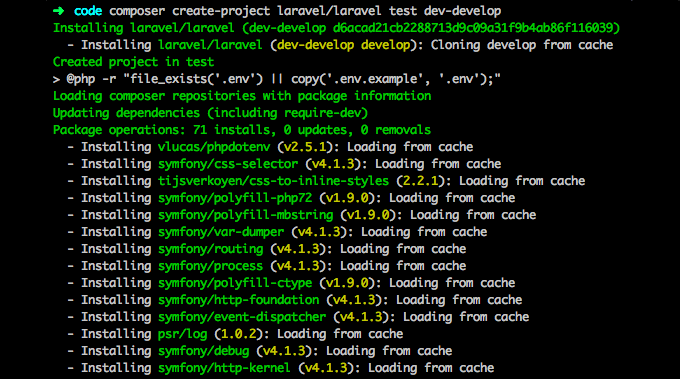
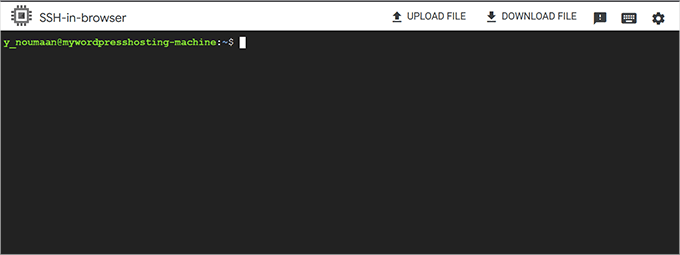
Setting up a Laravel project involves a more technical process. To get started, you’ll need to install Composer, which is a tool that manages the PHP packages your project depends on.
Once Composer is installed, you can use the command line to create a new Laravel project. This is a big shift from WordPress, where most hosting providers handle installation through a graphical control panel.
You’ll also need a local development environment like XAMPP or MAMP to run your Laravel project on your computer.
While you can add a CMS to Laravel using tools like October CMS, it still requires technical knowledge to manage.
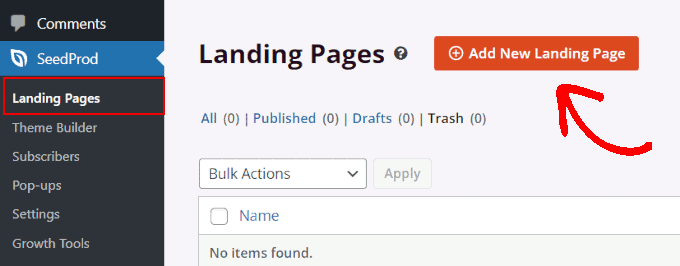
🏅 Winner for User-Friendliness: WordPress
I recommend WordPress for non-programmers. It’s made for people of all skill levels, especially those who want to build and manage websites without coding.
Laravel, on the other hand, is made for developers. It’s powerful and gives you a lot of control for building complex web apps, but it is difficult to learn and requires coding knowledge.
Making It Your Own: Customization in WordPress vs. Laravel
Now, let’s look at how WordPress and Laravel handle customization.
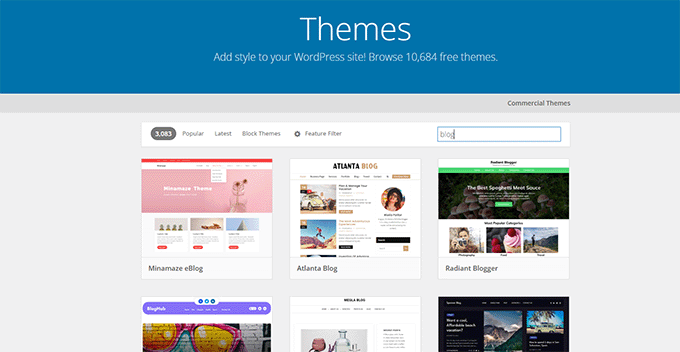
WordPress: The Theme & Plugin Powerhouse
One of the biggest advantages of WordPress is how easy it is to customize your website’s design and features, even if you’ve never written a line of code. This is all thanks to its huge ecosystem of themes and plugins.
Plugins are like apps for your website that add new functionality. For example, with plugins you can add a contact form, launch a full online store, build a membership community, or improve your website’s SEO.
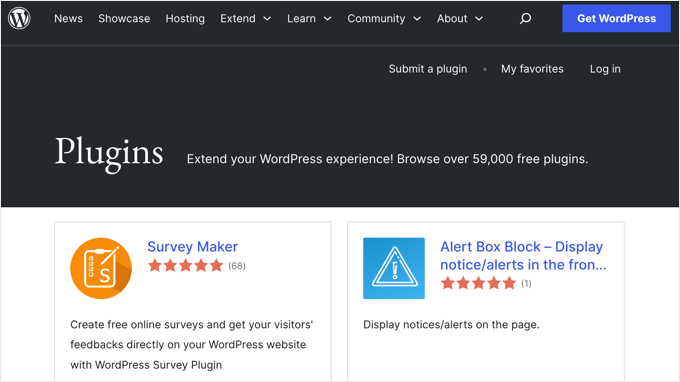
With tens of thousands of free and premium options, there is a plugin for almost anything you can imagine. To see what’s possible, you can check out our expert pick of the must-have WordPress plugins we recommend for all business websites.
Alternatively, you can always hire a developer to add custom code to your WordPress site.
The main difference is that WordPress is a complete system designed for content, which you can then extend. For projects with highly complex or unusual requirements that need to be built from scratch, Laravel can sometimes be a more direct starting point.
Laravel: The Code-Savvy Customizer
Laravel takes a more technical approach to customization. It’s a framework, which means it provides a toolbox for developers to build a custom website or web application from scratch.
This gives you full control over every aspect of your project, but you’ll need to be comfortable with coding in PHP, HTML, CSS, and JavaScript to use it effectively. Unlike WordPress, where you start with a pre-built system, Laravel starts you with a clean slate.
This makes it ideal for complex projects with unique requirements. For instance, if you were building a custom booking system, a SaaS (Software as a Service) application, or an internal business tool, Laravel provides the flexibility to build every feature exactly as you need it.
The trade-off is that you have to build many features that WordPress provides by default, like a content editor or user management system. This is why Laravel projects almost always require hiring a developer and take more time to build.
In short, here are the main points about customizing with Laravel:
- ✅ It offers unlimited flexibility because you can custom code everything.
- ✅ It’s ideal for building web applications with unique and complex features.
- ❗ You must have development expertise or hire a developer to use it.
🏅 Winner for Customization Options: WordPress (for most people)
If you want to customize your website without writing code, WordPress is the clear winner. Its library of themes and plugins lets you personalize your site easily, no technical knowledge required.
Laravel is better suited for developers who need full control and want to build highly customized applications.
For example, if you’re creating a blog or business website, WordPress will likely meet your needs. But if you’re building a web app with unique features, Laravel gives you the tools to go beyond what themes and plugins can offer.
Content Management: WordPress vs. Laravel
If your website is focused on content—like blog posts, news, or tutorials—then having a strong content management system (CMS) is essential.
A good CMS saves you time, reduces errors, and makes it easier to manage your content. Let’s look at how WordPress and Laravel compare when it comes to content management.
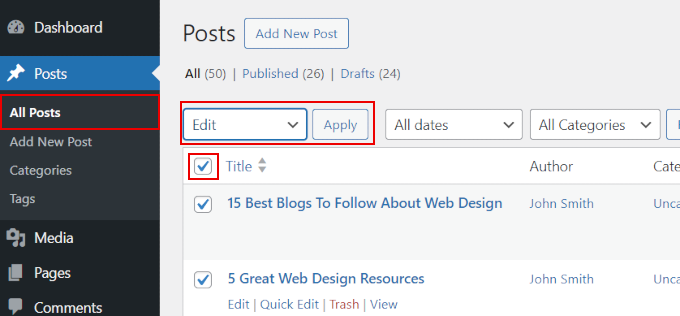
WordPress: Excels at Content Management
WordPress was built for content management. It started as a blogging platform, and today it’s a full CMS that makes it easy to create, organize, and manage all kinds of digital content.
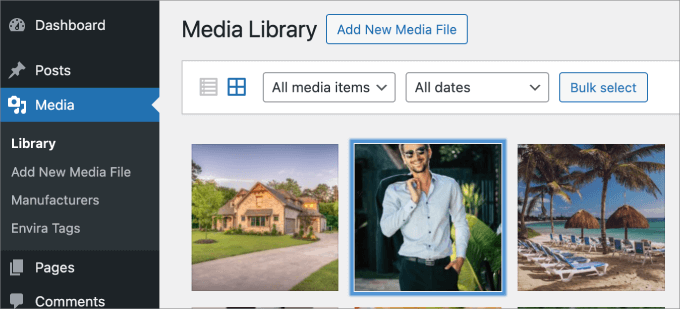
It comes with powerful built-in tools to keep everything in order. You can sort your posts with categories and tags, manage all your files in the media library, and even create different content structures using custom post types.
If you work with a team, the built-in user management system is incredibly helpful.
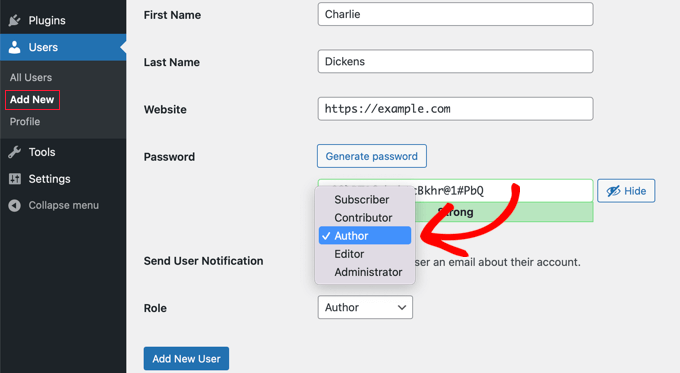
You can assign different roles like Author, Editor, and Administrator, giving each person the right level of access to create and manage content.
And if you need more advanced management tools, you can use plugins to add features like an editorial calendar, custom approval workflows, or content restriction for membership sites.
Laravel: The Flexible Framework (But Not a CMS)
Laravel is not a content management system. Instead, it’s a framework designed for building web applications. That means it doesn’t include built-in tools for managing content like WordPress does.
If you want to manage content with Laravel, there are two common approaches:
- Build your own CMS: If you’re comfortable with PHP and Laravel, you can build a custom CMS from scratch. This gives you full control over your content structure and features, but it requires significant development time.
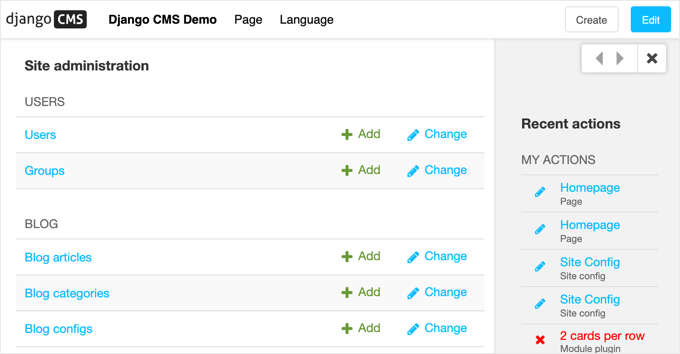
- Use a Laravel-based CMS: Some tools, like October CMS and Statamic, are built on Laravel. These platforms add content management features on top of Laravel but still require some technical knowledge to use effectively.
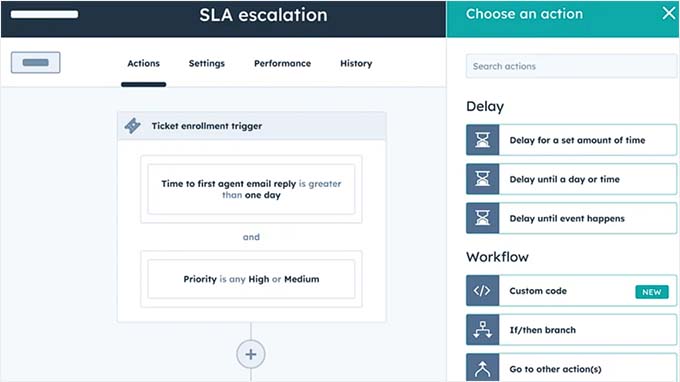
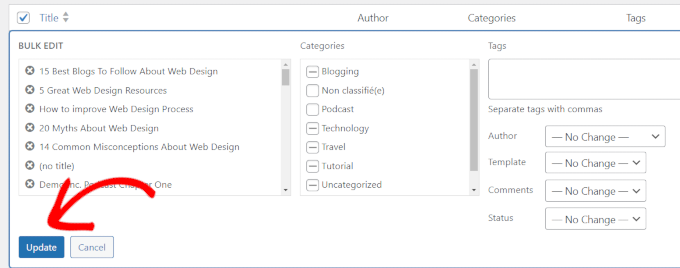
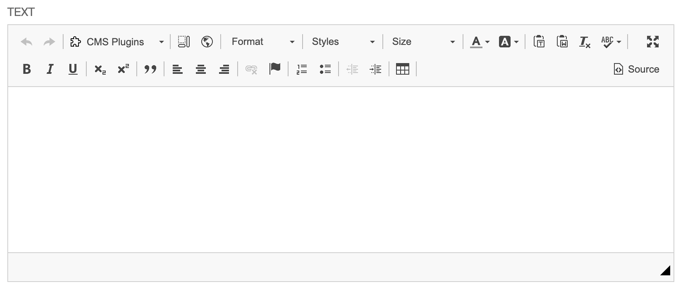
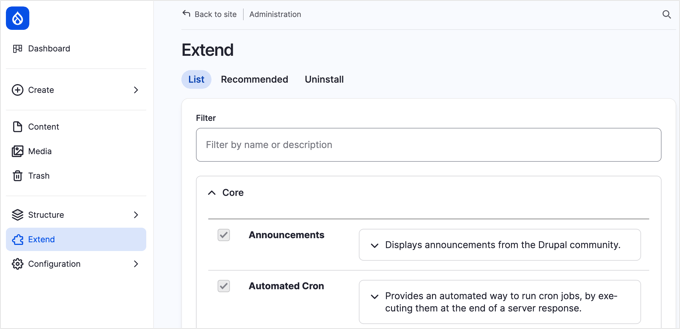
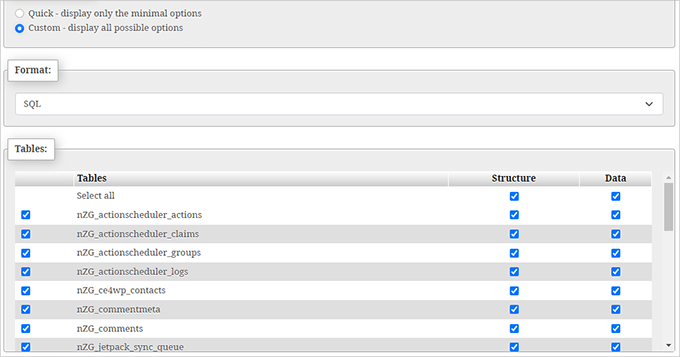
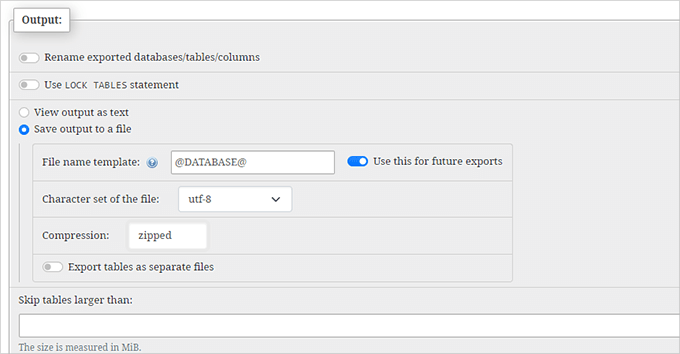
Here’s what the content editor looks like in October CMS:
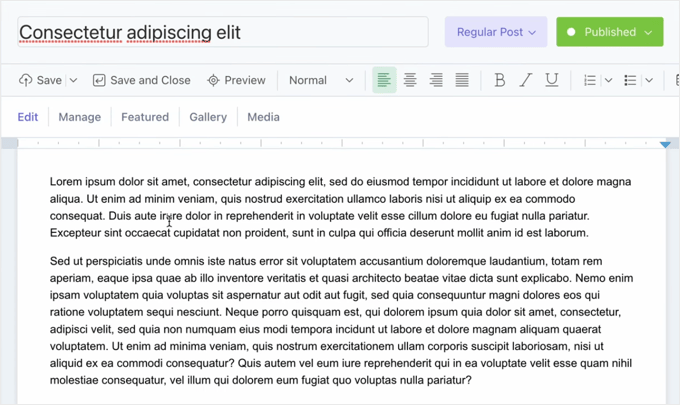
As you can see, Laravel doesn’t offer the out-of-the-box content tools that come standard with WordPress.
🏅 Winner for Content Management Features: WordPress
If you need a complete, beginner-friendly CMS, then WordPress is the better option. It’s great for bloggers, businesses, and anyone who wants to manage content without writing code.
Laravel, on the other hand, gives developers full control. You can build a custom content system from the ground up, but it takes time and technical skill.
For example, if you’re building a site with very specific content workflows, you might choose Laravel to match your exact requirements. But for most websites, WordPress is a faster and more practical choice.
eCommerce: WordPress vs. Laravel
Selling products or services online? Then you’ll want to look at how each platform handles eCommerce. The right setup can make managing your store much easier.
WordPress: The eCommerce Powerhouse
One of the biggest strengths of WordPress is its flexibility for selling online. You can use it to build anything from a simple donation button to a massive online marketplace.
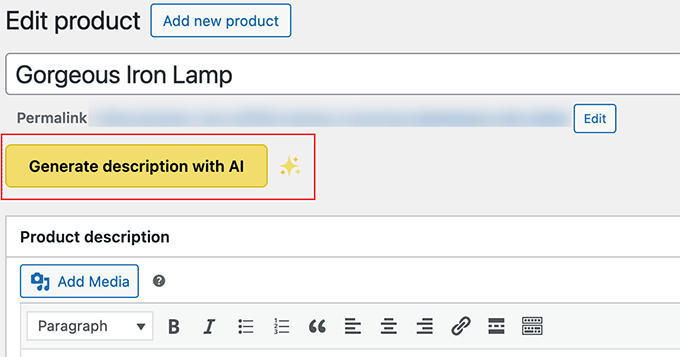
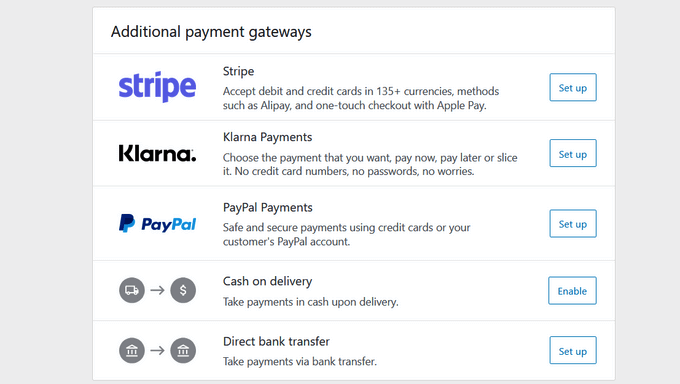
If you want to build a full online store, you can follow our complete guide on how to start an online store. The most popular way to do this is with a free plugin like WooCommerce, which adds all the features you need, like product pages, a shopping cart, and payment gateways.
But WordPress isn’t just for large stores. You can also:
- Accept simple payments or donations with a form builder like WPForms.
- Sell digital products like ebooks or courses with Easy Digital Downloads.
- Create a paid membership site to sell exclusive content with a plugin like MemberPress.
This flexibility makes WordPress a powerful choice that can grow with your business, no matter how you plan to sell online.
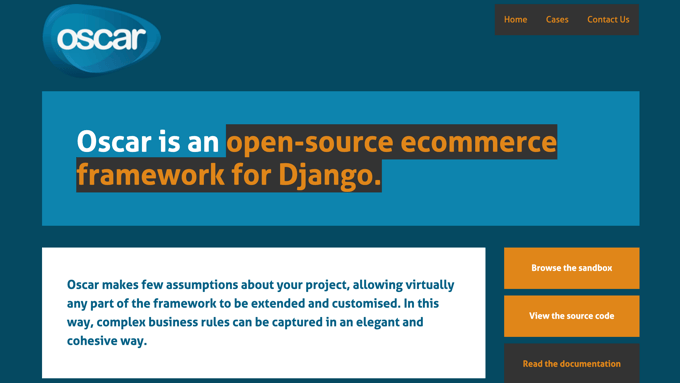
Laravel: The Custom eCommerce Builder
Laravel doesn’t come with built-in eCommerce features. But because it’s a flexible framework, developers can use it to build a fully custom eCommerce solution tailored to specific needs.
This lets you design features that may not be possible with WordPress. However, it requires advanced development skills and more time to set up and maintain.
Laravel is better suited for large businesses that need specialized functionality and have the technical resources to support a custom platform.
🏅 Winner for eCommerce Capabilities: WordPress (for most people)
For most small to medium-sized stores, WordPress with a plugin like WooCommerce is the easiest and most affordable choice. If you need a standard online store, this approach is plug-and-play and gives you everything you need to start selling without hiring a developer.
Laravel is a better fit when you need a large, custom eCommerce system. It is the best choice if you are building a bespoke platform with unique inventory, shipping, or recommendation features and have the budget for custom development.
SEO: WordPress vs. Laravel – Getting Found Online
If you want people to discover your website through search engines, then you need to think about search engine optimization (SEO). Your choice of platform can make a big difference in how easy that is to do.
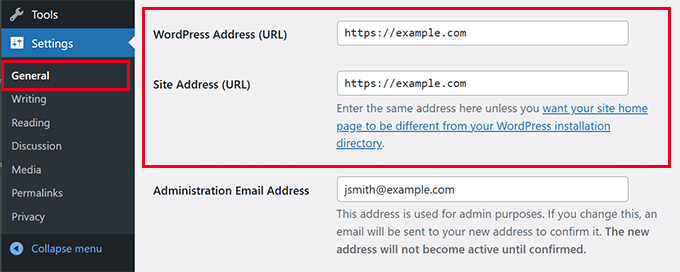
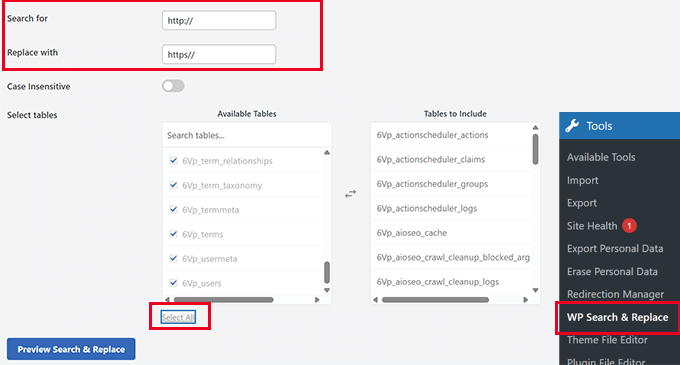
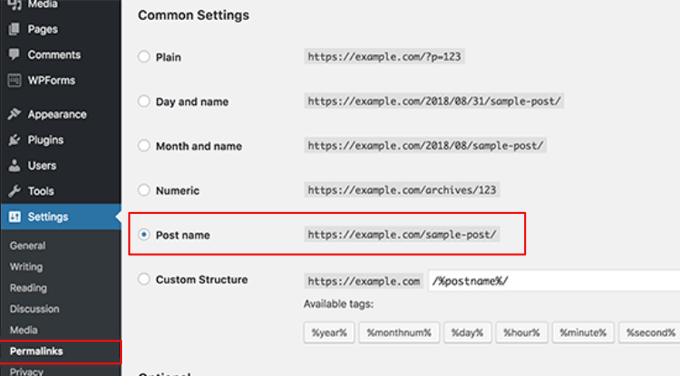
WordPress: The SEO-Friendly CMS
WordPress is well-known for being SEO-friendly right out of the box. It supports key features like SEO-friendly URLs, categories and tags for organizing content, and alt text for images—all built into the platform.
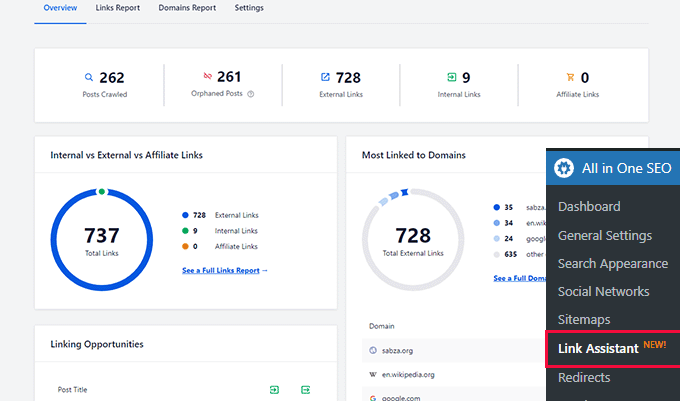
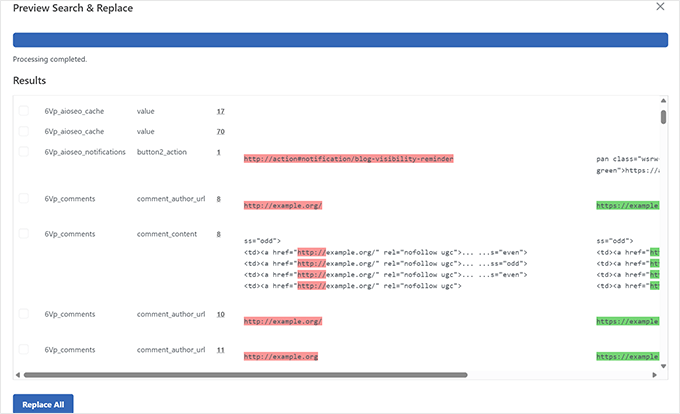
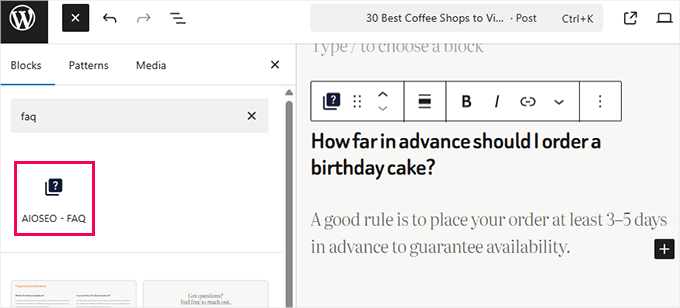
WordPress makes SEO easy, especially with plugins like All in One SEO (AIOSEO). These tools help you add meta tags, create sitemaps, and optimize your content, all without needing to code.
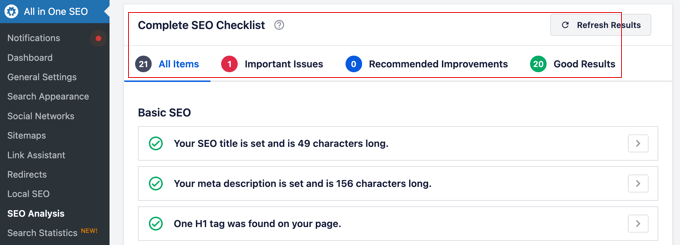
With tools like this, you can follow most SEO best practices without needing to write any code.
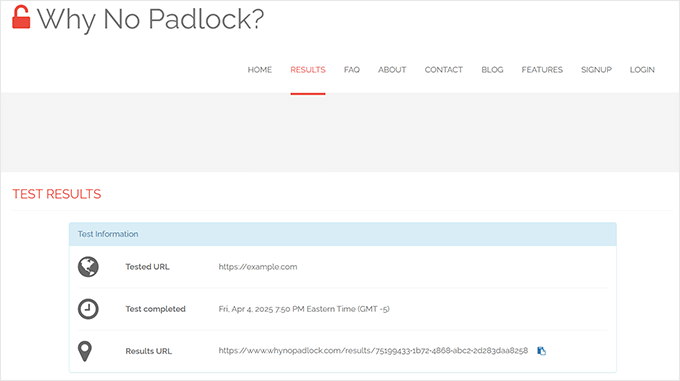
If you’re serious about SEO, I recommend pairing your plugin with a fast-loading theme and a caching plugin to boost your site’s speed—a key ranking factor.
Laravel: The SEO Toolkit for Developers
Laravel doesn’t offer built-in SEO tools. Instead, it gives developers full control to add SEO features through code.
While you can build everything from the ground up, developers can also use pre-built Laravel SEO packages to handle tasks like creating sitemaps or managing metadata.
Popular Laravel SEO packages include ‘artesaos/seotools’, which can help handle meta tags, Open Graph, and more.
However, this still requires manual setup and coding knowledge to implement.
This flexibility is useful if you’re building a custom web application and need specific SEO structures. However, it’s a lot more technical and time-consuming.
If you’re not familiar with coding, then managing SEO in Laravel can be a real challenge.
🏅 Winner for SEO: WordPress
For most websites, WordPress is the easier and more beginner-friendly option for SEO. Its built-in features and powerful plugins make it simple to improve your search rankings without technical skills.
Laravel is best for developers working on advanced projects with very specific SEO needs. But you’ll need to be comfortable coding and managing those features manually.
Speed Matters: Performance in WordPress vs. Laravel
Website speed is important because a slow-loading website can frustrate visitors and negatively impact your search engine rankings.
Let’s take a closer look at how WordPress and Laravel compare when it comes to performance.
WordPress: Performance Requires Optimization
WordPress makes it easy to build a site, but that convenience can lead to slower load times if you’re not careful.
It’s important to know that the core WordPress software is actually very fast. But performance can slow down if you use a poorly coded theme, install too many or poorly coded plugins, or upload large, unoptimized images.
This is why it’s important to optimize your WordPress website to keep it running fast.
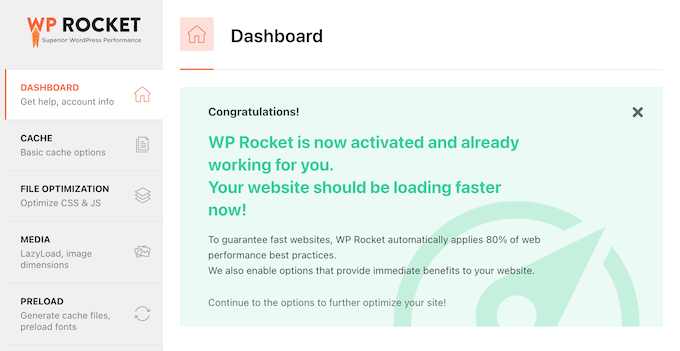
To boost WordPress performance, you can use caching plugins like WP Rocket, optimize your images, choose a lightweight theme, and select a quality hosting provider.
For step-by-step advice, see our ultimate guide to boosting WordPress speed and performance.
Laravel: Built for Speed
Laravel is built for speed because it starts as a lean, lightweight foundation. Developers only add the specific code and features needed for the project, so there’s no extra bloat to slow the site down.
That said, performance still depends on how well the code is written. A poorly optimized Laravel project can run into the same issues as any other framework.
But when set up properly, Laravel offers a strong foundation for high-performance websites and applications.
🏅 Winner for Performance: Laravel
If speed and performance are top concerns, especially for custom applications or high-traffic projects, then Laravel is the better fit. It’s well-suited for advanced performance needs and offers more precise control.
Still, WordPress can deliver excellent performance too. With the right hosting and optimization strategies, it can support fast load times even during high-traffic events. It just requires more setup and ongoing maintenance.
Growing Your Site: WordPress vs. Laravel Scalability
Scalability is your website’s ability to handle growth in traffic without slowing down.
Both WordPress and Laravel are excellent for this, but they use very different approaches.
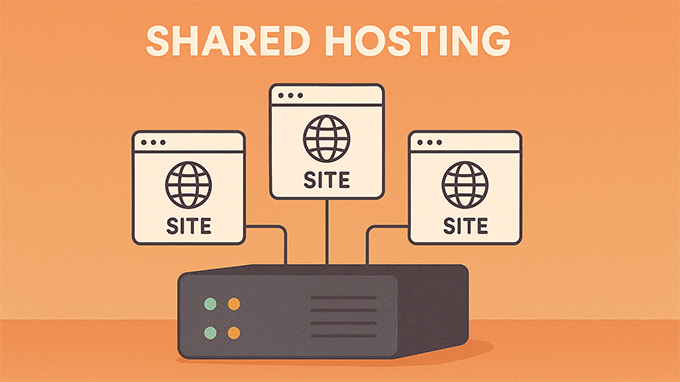
WordPress: Scaling with the Right Infrastructure
WordPress can be scaled to handle massive amounts of traffic. In fact, many high-traffic websites, including major news outlets and enterprise companies, run on WordPress.
However, the scalability of a WordPress site depends less on the core software and more on its hosting environment and setup. To handle growth, you will need to invest in better infrastructure.
This usually involves:
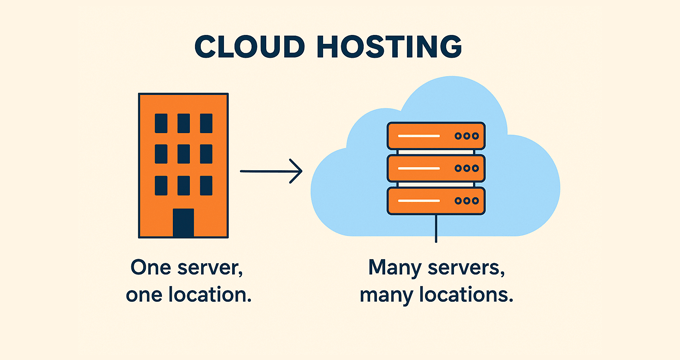
- Upgrading Your Hosting: Moving from a basic shared hosting plan to a more powerful VPS or a high-performance managed WordPress hosting provider is the most important step.
- Using a CDN: A Content Delivery Network (CDN) helps distribute your website’s files across servers worldwide, reducing the load on your main server and speeding up load times for visitors.
- Optimizing Your Site: Using a caching plugin, optimizing images, and choosing well-coded plugins and themes are important for maintaining performance as you grow.
Laravel: Scaling with Custom Architecture
Laravel is designed for scalability from the ground up. Because it’s a framework, developers have complete control over the application’s architecture, allowing them to build systems specifically for high-traffic and complex tasks.
It comes with built-in features that make scaling easier for developers. These include support for distributed caching systems, background job queues to handle intensive tasks, and a structure that works well with modern, scalable server setups like load balancers.
This level of control is powerful, but it requires significant technical expertise. Scaling a Laravel application is not about clicking a few buttons. Instead, it requires careful architectural planning and server management by a skilled development team.
🏅 Winner for Scalability: WordPress for Most Websites, Laravel for Custom Applications
For most businesses, blogs, and online stores, WordPress is the more practical choice for scaling. You can easily handle growth by upgrading your hosting plan and using optimization tools without needing to rebuild your site’s foundation.
Laravel is the winner for custom web applications (like a SaaS platform) where complex scalability needs are known from the start. It offers a more robust foundation for developers who need to design a highly specific, scalable architecture from scratch.
Safeguarding Your Site: WordPress vs. Laravel Security
Both WordPress and Laravel can be very secure, but you’ll approach security differently depending on which one you choose.
Let’s take a look.
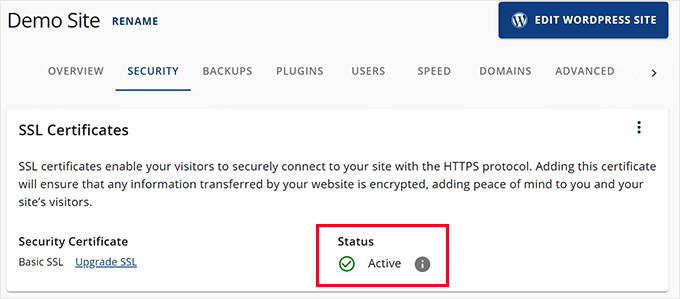
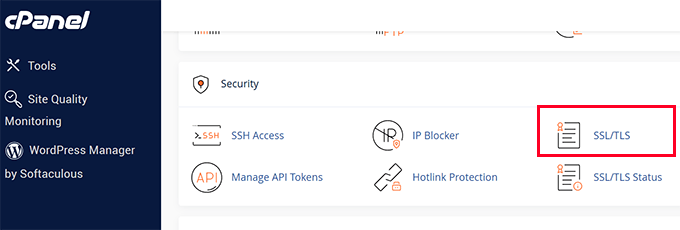
WordPress Security: A Shared Responsibility
WordPress itself is secure, but its popularity makes it a common target for hackers. The real risks often come from outdated plugins or poorly coded themes.
Because you can add so many different plugins, your site has a larger ‘attack surface,’ meaning more potential entry points for hackers if things aren’t kept up-to-date.
The good news is that regular updates and careful plugin choices can go a long way in keeping your site safe.
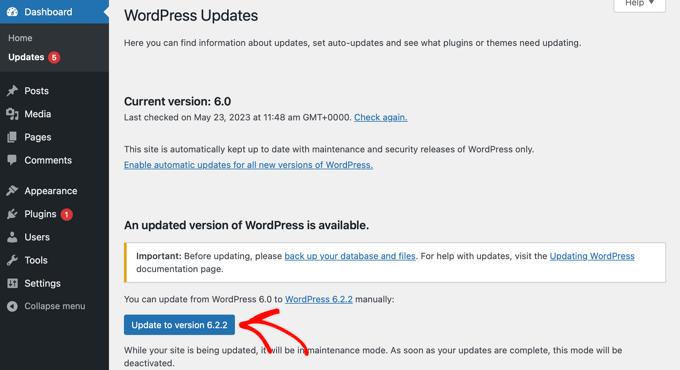
To stay secure, I always recommend you use reputable plugins from trusted sources, keep everything updated, and follow best practices like strong passwords and two-factor authentication.
Beyond your own efforts, your web host plays a huge role in keeping your site secure. Choosing a quality managed WordPress hosting provider adds a powerful layer of protection, as they often include security features like firewalls, malware scanning, and automatic updates.
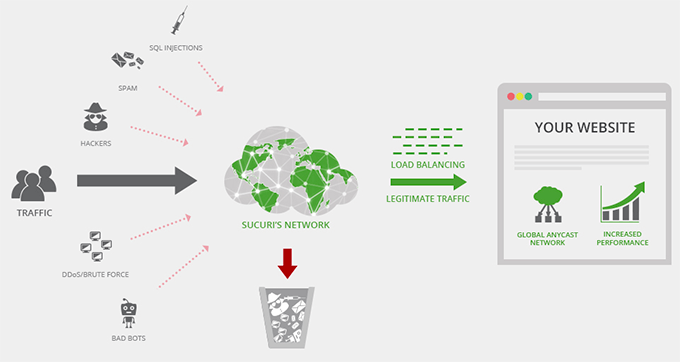
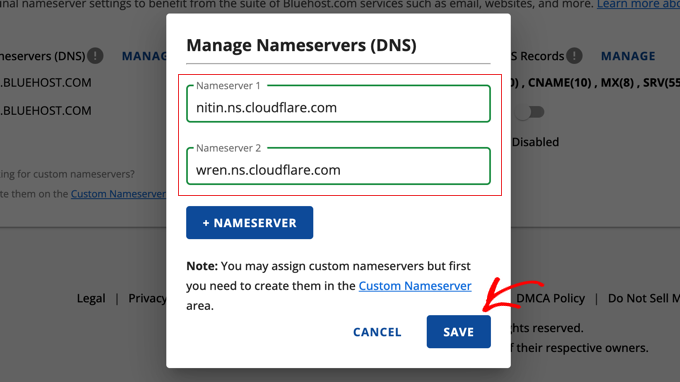
For extra security, I recommend using a security plugin. We currently use Cloudflare on WPBeginner, and we’ve also had success with Sucuri. Cloudflare is ideal for larger sites, while Sucuri offers solid protection for all types of websites.
Check out our guide to the best WordPress security plugins for more recommendations.
Laravel Security: Built-in Protection and Encryption
Laravel includes built-in security features like CSRF protection and input validation that make it easier to build secure apps without needing extra tools.
It also uses encryption by default for sensitive data. For example, Laravel hashes passwords using bcrypt, helping keep login credentials secure even if the database is compromised. WordPress has also used password hashing for a long time and added support for bcrypt in version 6.8.
Laravel also encrypts cookies and sessions, which helps protect user data and prevent session hijacking.
That said, Laravel security depends heavily on the developer. Misconfigurations or insecure code can still create vulnerabilities. That’s why following secure coding practices and conducting regular security audits are essential.
🏅 Winner for Security: Laravel
Laravel provides a stronger security foundation out of the box, especially for developers who want built-in tools. But both platforms can be secure when used properly.
WordPress requires more ongoing maintenance, like updating plugins and using security tools, but it’s very secure when you follow best practices.
To learn more, see our ultimate WordPress security guide.
Community and Resources: WordPress vs. Laravel
When you run into an issue or want to add new features, having a strong support community and plenty of resources is a huge advantage.
This is a key area where WordPress and Laravel are very different, and it can make a big impact on your final choice.
WordPress: A Thriving Community
WordPress powers over 43% of all websites on the internet, and this enormous market share supports a global community of users, developers, and designers.
Whether you need help troubleshooting an issue, selecting a plugin, or learning a new feature, there’s likely someone who has already encountered the same problem and shared the solution online.
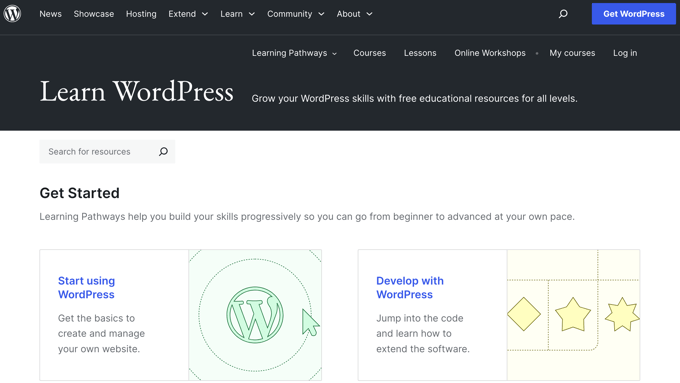
In addition to community forums, you’ll find official resources like Learn WordPress and Make WordPress, which offer structured courses, lessons, and documentation to help users at all levels.
At WPBeginner, we also offer a wide range of free resources, including step-by-step tutorials, a newsletter, video guides, a helpful Facebook group, and more.
To get started, see our guide on how to make the most out of WPBeginner’s free resources.
And because of WordPress’s popularity, the theme and plugin marketplace is massive, giving you endless customization options without writing any code.
Laravel: A Developer’s Hub
Laravel has a smaller but highly focused community made up of developers and technical users. It emphasizes clean code, reusable packages, and advanced development practices.
Although the Laravel ecosystem is more niche, it’s very active and supportive. I’ve found the official documentation to be excellent, and there are plenty of places to ask questions or share solutions.
Top Laravel learning resources include Laracasts (a premium tutorial site), community forums like the Laracasts forum and Laravel.io, and the Laravel subreddit.
Unlike WordPress, Laravel doesn’t offer a marketplace of themes and plugins. It’s designed for building things from scratch, so you’ll be writing more code, but you’ll also have full control over the final product.
Fortunately, Laravel developers are in high demand, and finding skilled professionals is generally not difficult.
🏅 Winner for Community and Resources: WordPress
While both platforms have strong communities, WordPress has a much larger and more beginner-friendly ecosystem. Here’s why:
- The WordPress community welcomes users at every skill level. There are countless forums, tutorials, and support groups where you can find quick help.
- Most common issues already have documented solutions you can find with a simple web search.
- Its huge marketplace makes it easy to add new features or design updates with minimal effort.
Laravel offers an excellent support network for developers, but if you’re not comfortable with code, WordPress is the more accessible and community-rich option.
Related: For a deeper dive into WordPress market share and trends, check out our detailed WordPress Market Share Report.
Cost Comparison: WordPress vs. Laravel
I know from experience that budget is a major factor when choosing a platform. While both WordPress and Laravel are open-source (meaning the software itself is free), there are other costs to consider.
WordPress: Budgeting for Your Site
WordPress is usually more affordable at the start. With free themes, plugins, and budget-friendly hosting (as low as a few dollars per month), you can launch a site cheaply. Just remember that premium themes, plugins, or hiring a developer will add to the cost.
Here’s what you’ll need to budget for:
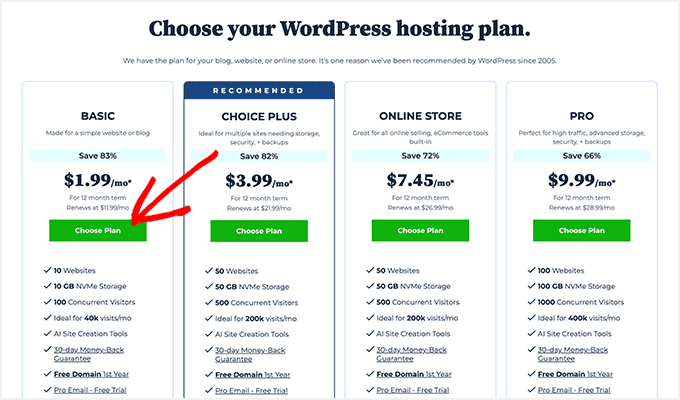
- A domain name (like wpbeginner.com) costs around $10-15 per year, but you may be able to get the first year for free.
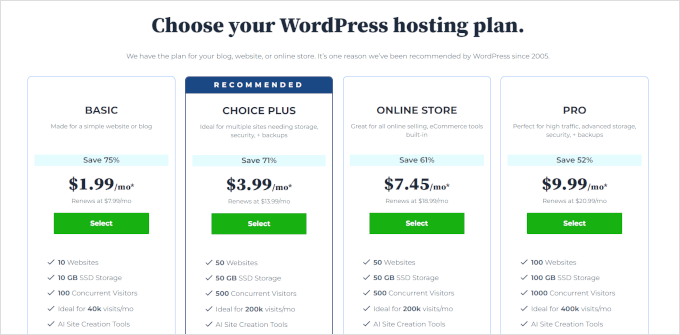
- Web hosting (where your website files and database are stored) costs $2-25 per month. I recommend Bluehost for beginners because they have affordable plans and great support.
- You can choose a free theme or purchase a premium theme for $30-200 to get more design options and features.
- You can also use free plugins, though premium plugins can add powerful features. I recommend checking out our list of the must-have WordPress plugins.
- If you need custom work, then you will need to hire a developer or designer. This can be the biggest expense, though most WordPress websites won’t need it.
We have a detailed guide on WordPress website costs if you want more information.
Laravel: Investing in Development
Laravel projects typically cost more because they require custom development. You’ll likely need to hire a developer or a team, which makes sense for larger or more complex projects.
Here’s a breakdown of the typical costs you can expect with Laravel:
- Domain name: Around $10–15 per year, just like with WordPress.
- Web hosting: Typically $15–100+ per month. Laravel apps often require more robust infrastructure, such as cloud hosting or a VPS for better performance.
- Developer fees: This is usually the largest cost. If you’re building something custom, hiring a Laravel developer is essential, and rates can vary widely depending on the complexity of your project.
All in all, Laravel gives you complete freedom to build exactly what you need, but that flexibility comes with a bigger investment in both time and money.
For example, you might launch a simple WordPress site for under $100, but a custom Laravel project could easily start in the thousands depending on its features.
🏅 Winner for Affordability: WordPress (for most people)
For most people, especially beginners and small businesses, WordPress is the more cost-effective option. You can launch a full-featured website without hiring a developer, and many themes and plugins are available for free.
Laravel is best suited for complex projects with unique functionality, where you have the budget to invest in custom development. It’s a powerful solution, but not the cheapest one.
The Verdict: Choosing Between WordPress vs Laravel
So, which platform is right for you? It all depends on what you need from your website.
Use WordPress if you want to build a website quickly, manage content easily, and benefit from thousands of ready-made themes and plugins. It’s perfect for blogs, business sites, portfolios, and online stores without breaking the bank.
Use Laravel if you’re a developer (or working with one) building a custom web application with unique features, advanced functionality, or a need for serious scalability and control. Laravel is more powerful under the hood, but it requires coding expertise to unlock its full potential.
To help you decide, here’s a simple breakdown of who each platform is best suited for:
| WordPress | Laravel | |
|---|---|---|
| Typical Users | Bloggers, small business owners, content creators, non-developers | Developers, startups, enterprises building custom apps |
| Primary Use Cases | Blogs, business websites, portfolios, eCommerce stores (with plugins) | Custom web apps, SaaS platforms, internal tools, complex eCommerce |
Before choosing a platform, consider your goals, technical skills, and budget.
If you want to build something quickly and easily, WordPress is likely the way to go. But if you need full control and are building something more advanced, Laravel might be a better fit.
I hope this guide helped you get a clearer picture of whether WordPress or Laravel is right for your next project. Ready to build your site? If you’re leaning toward WordPress, check out our guide on how to start a website step-by-step.
☝ Pro Tip: Are you overwhelmed by building a professional website? Let our expert WordPress designers create a stunning site for you, easily and affordably. See our Stress-Free WordPress Design Services page for details and pricing.
Frequently Asked Questions About WordPress vs. Laravel
Now that you’ve read our comparison of WordPress vs. Laravel, you might still have some questions. Here are some quick answers to frequently asked questions.
Is WordPress or Laravel easier to use for beginners?
For someone just starting out with website building, WordPress is easier to learn and use. It is designed with user-friendliness in mind, even if you have no coding experience. You can get a website up and running quickly, often with just a few clicks.
Laravel, on the other hand, has a steeper learning curve. It’s a framework built for developers, so it assumes you have coding knowledge or are willing to learn.
Do I need to know coding to use WordPress or Laravel?
With WordPress, you can build and manage a website without writing any code at all. You can use themes to control the design and plugins to add features, all without needing to write code. If you want to make very advanced customizations, then some coding knowledge can be helpful.
Laravel is different. To use Laravel effectively, you need coding skills, specifically in PHP. Building a website or web application with Laravel involves writing code to create features, customize functionality, and manage your site.
Which is better for SEO: WordPress or Laravel?
Both WordPress and Laravel can be excellent for SEO, but they approach it in different ways. WordPress is naturally quite SEO-friendly right out of the box, and you can use plugins like All in One SEO to optimize your site for search.
Laravel gives developers more direct, technical control over SEO. With Laravel, you can fine-tune every aspect of your website’s code and structure for optimal SEO performance. But this isn’t a one-click solution because it takes a lot of coding.
Is WordPress or Laravel more secure?
Both WordPress and Laravel can be secure platforms, but security needs to be approached differently for each. WordPress is actively maintained for security, and you need to keep it updated. You also need to use security best practices and plugins for the best protection.
Laravel is more secure from a technical standpoint. It has many security features by default and encourages secure coding practices. However, just like any platform, Laravel’s security still depends on developers writing secure code and properly configuring their applications.
When should I choose WordPress over Laravel?
I recommend WordPress for most websites. It’s easy to set up and manage, especially if you’re not a coder. It’s ideal for blogs, small business websites, portfolios, and online stores. It lets you get a website online quickly and cost-effectively.
When should I choose Laravel over WordPress?
In most cases, it’s best to choose Laravel when you need to build a custom web application or a website with very specific and complex features. You will need development expertise or a development team, but you can build something truly unique from the ground up.
We hope this tutorial helped you compare WordPress vs. Laravel and their pros and cons. You may also want to see our guide on how to choose the best website builder or our expert pick of popular sites using WordPress as a CMS.
If you liked this article, then please subscribe to our YouTube Channel for WordPress video tutorials. You can also find us on Twitter and Facebook.
The post WordPress vs Laravel – Which Is Better? (Expert Comparison) first appeared on WPBeginner.


 Syed Balkhi
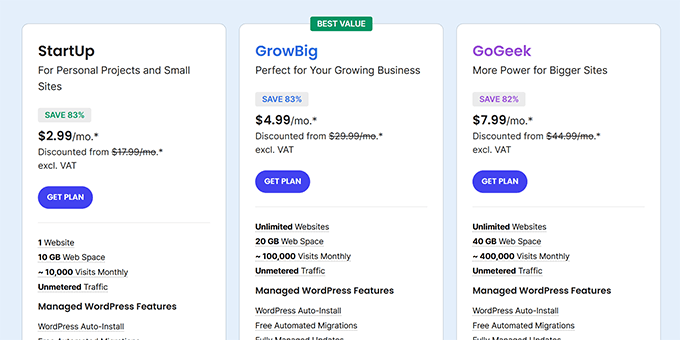


 Syed Balkhi